I am willing to bet that most techno nerds who bought an HTC Evo (got mine on launch day!) Rooted and Nand ‘d there phones almost immediately to get full software control.
However, I am wondering how many people have done most every mod physically and added their own?
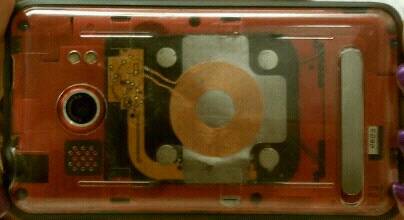
This is my Evo with the inductive charger installed and a custom modified IcyCell (part of the original project for this one – community driven at XDA forums – thanks Joey for getting them made!) clear cover that was milled and polished to have better performance with the inductive charger. This inductive chager is a bit different as it is the circuit from a Palm Touchstone for Palm Pixi. The Pixi cover used a flexible PCB that was thinner and better fit the phone profile for curvature as opposed to the thicker PCB used for the Pre designs. Inductive charging back was wired into the test points for the USB power as opposed to attaching directly to the resistors as it is safer and easier to remove if there is an issue with the phone otherwise and needs servicing.
Pixi cover – $6 at Radioshack
Palm Touchstone Charger – $10 including car charging cable from Verizon’s online store
Clear Battery Cover – $10, now available commercially from IcyCell
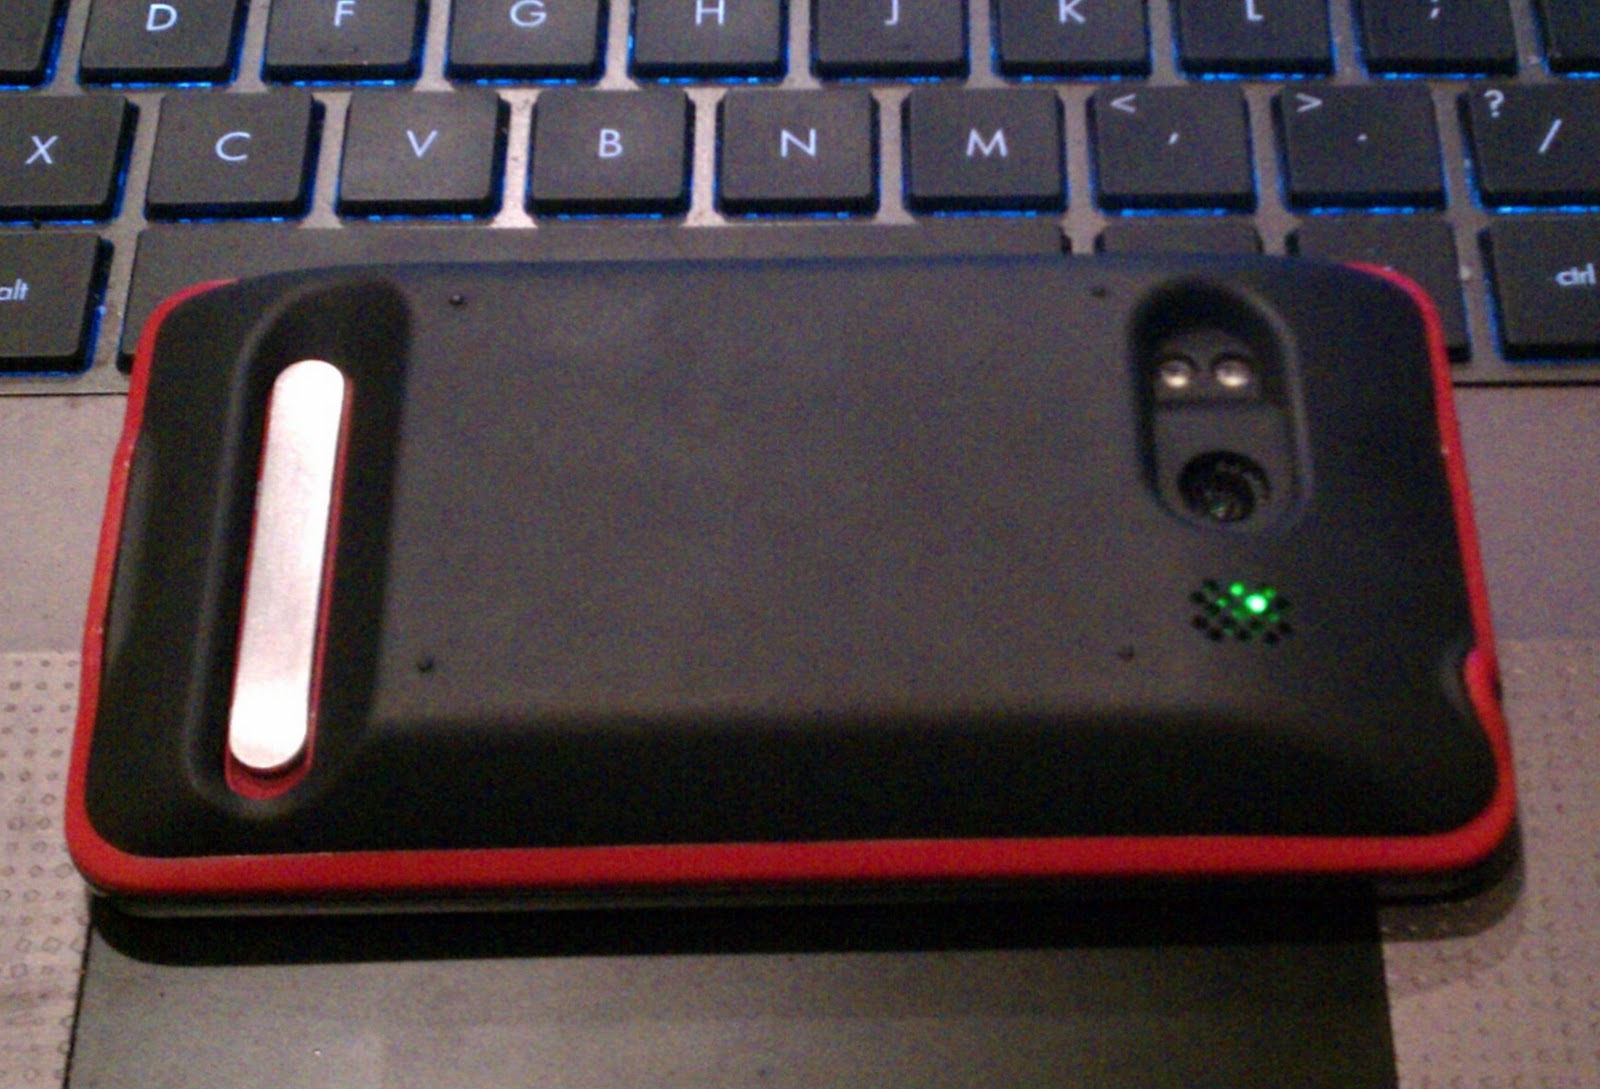
NEXT IS WHAT MY PHONE LOOKS LIKE CURRENTLY
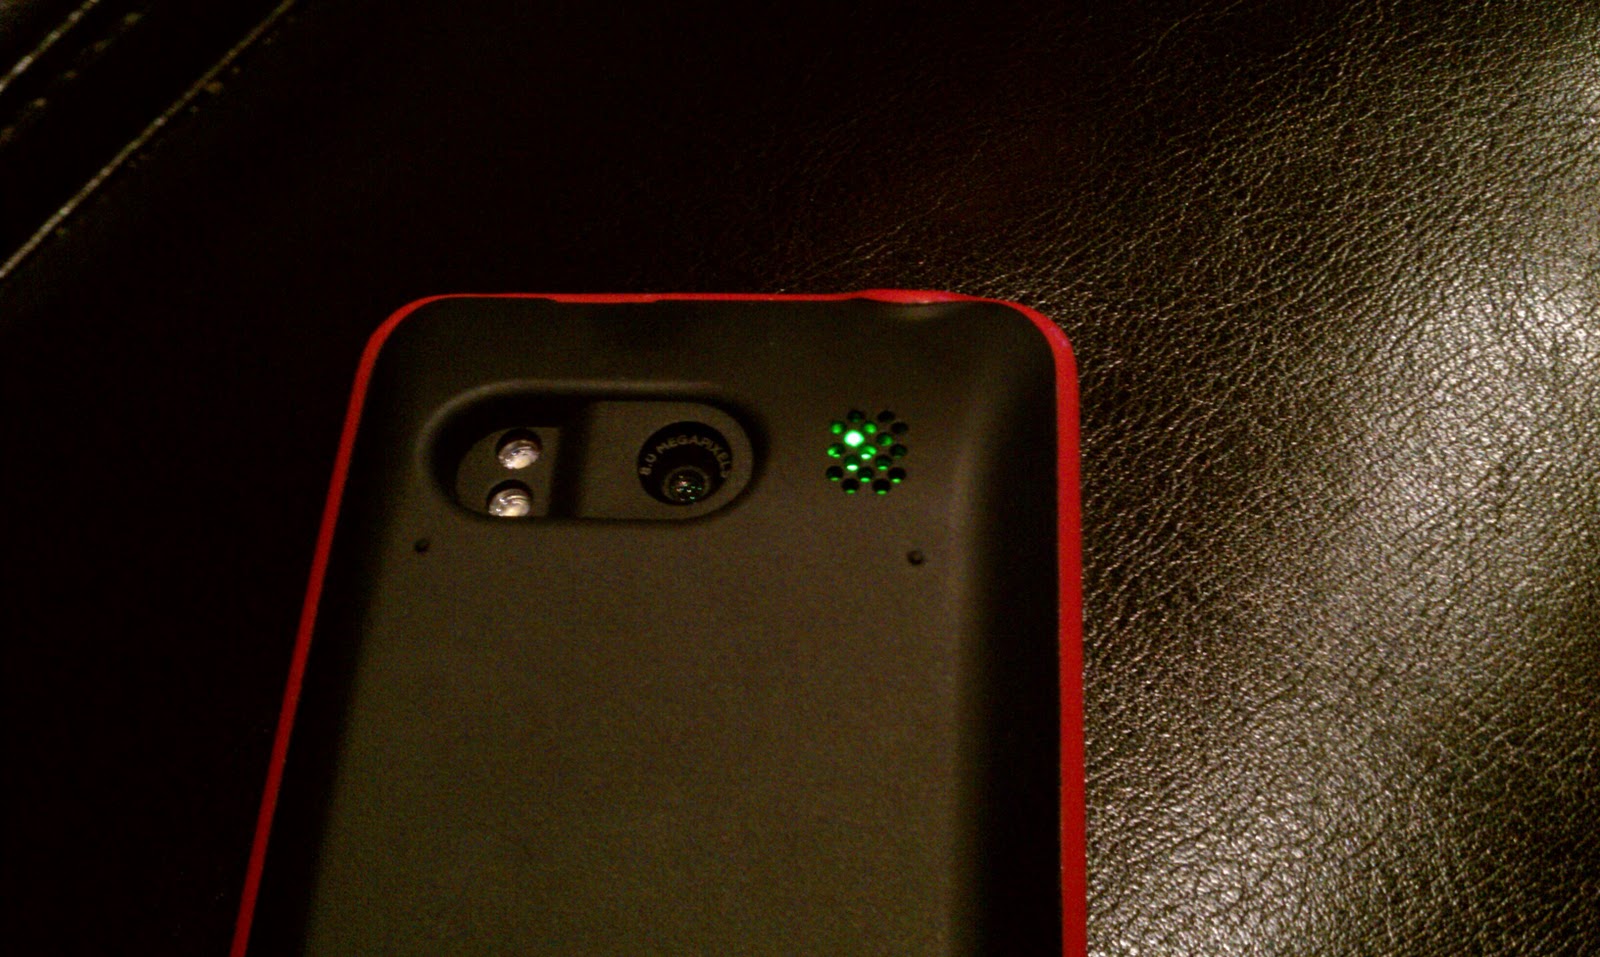
You can see that now my phone has a Back-lit Speaker port! This is made using a PCB using a simple Resistor/LED serial connection. For those without aa thicker cover, this is still possible because the LED circuit is the same size as the speaker port (though it will muffle with a normal back) or you can put it in the back area of the headphone port.

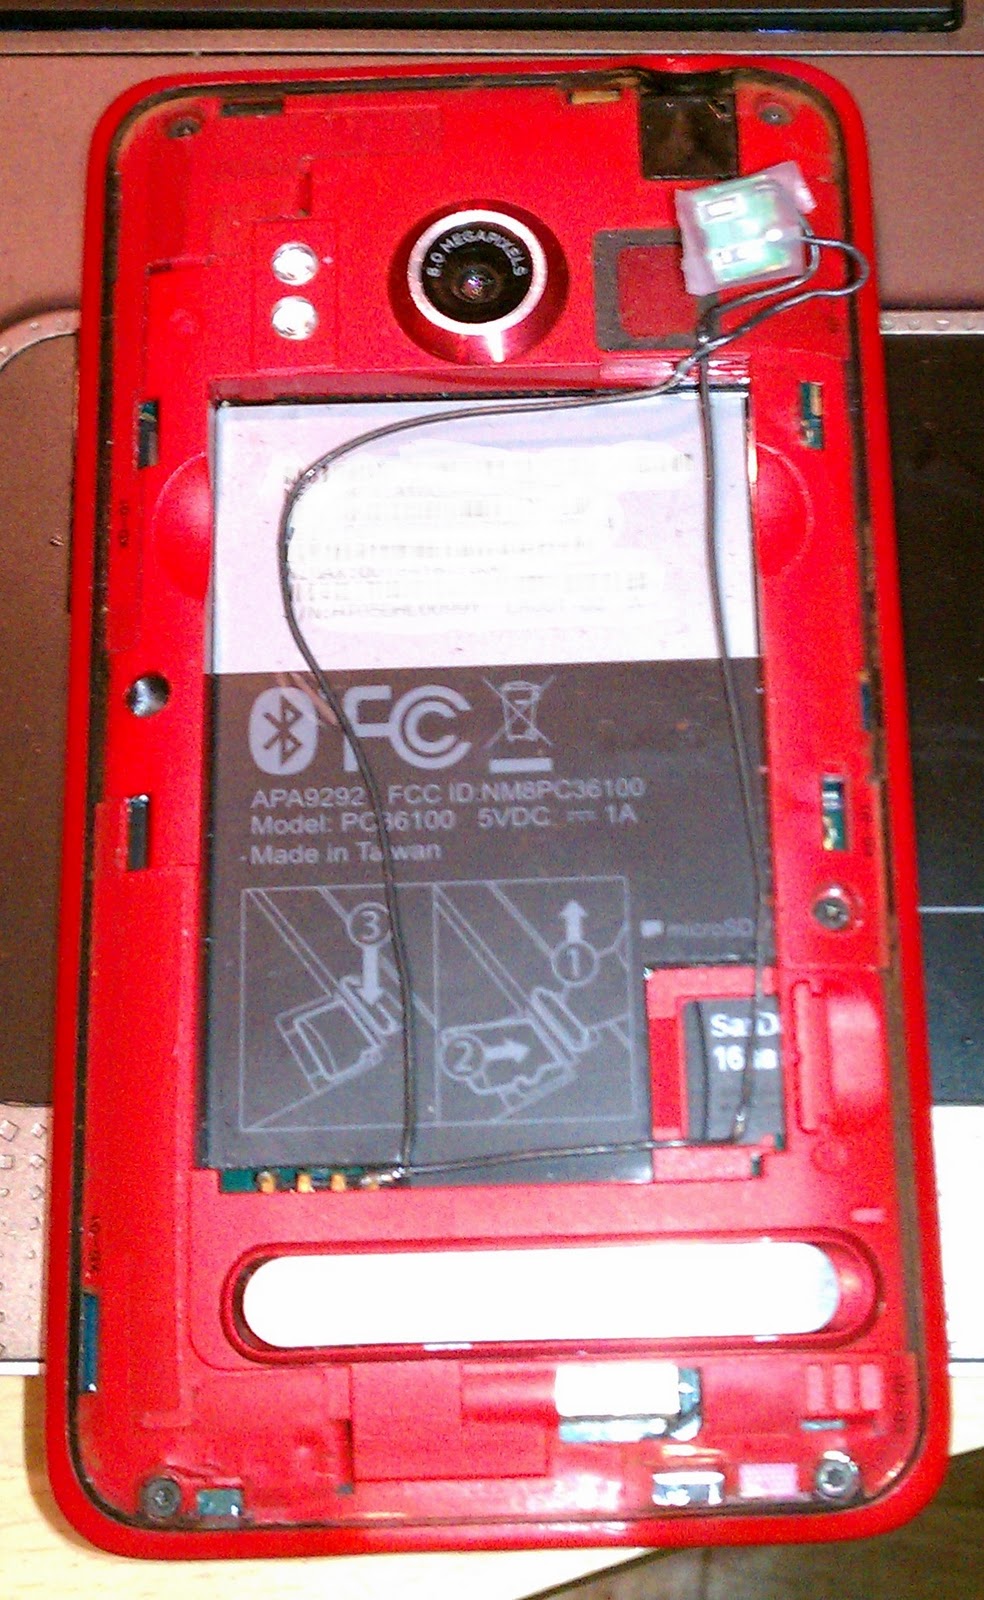
My reason for this is I am a girl, so I put my phone in my purse when moving about. DO YOU KNOW HOW IMPOSSIBLE IT IS TO FIND YOUR PHONE IN A DARK PURSE? This solves that without being too bright. Also, do not worry as it uses almost no battery and will continue to shine, even if the phone does not have enough voltage to run as this needs only 2.0v to have full illumination! Also, does not violate the warranty as you do not have to crack open the phone to install, just wrap the wire around the spring loaded battery connections! To connect, just use the FAR RIGHT AND FAR LEFT of the 4 pins, otherwise your phone will get very angry with you and will not charge. Tape is used to diffuse the light.
The red is the base plastic of the phone (used to be covered with black rubberized paint). This has been initially removed by using the back of a razor blade and then finished with plastic polish using a dremel.
Finally finished off with a $7 shipped eBay extended battery with cover.
So for less than a nice dinner, you can have one of the most useful and cool Evo’s around and never get your’s mixed up with someone else…like my boyfriend’s phone!


2 Comments
dear-miju · March 13, 2011 at 8:31 PM
i like the light. where can i buy the stuff for speaker light and for cheap?? i'd want a blue light~~~
links would be helpful 😀
thanks!
StacyD · March 14, 2011 at 4:12 AM
Best way is to cut up a broken PCB and find a spot where there are two resistors in parallel, one the resistors between 75-250ohm for optimal brightness. Then, use your sick SMD skills to remove one of the resistors and replace with an LED. Or simply cut up an area already with a resistor/led combo.
You could also just buy these from sparkfun in a 5-pack and cut them down.
http://www.sparkfun.com/products/10045
$5 plus shipping.
Use 28awg or smaller wire, preferably teflon coating.