
First of all the watchband that the LiveView comes with is very basic. That is fine, what gets me is that the plastic for the Holder is of SUCH LOW QUALITY. I have owned this device since December 25th when my boyfriend gave it to me as a Christmas present. I treasure it and treat it extremely well. However, due to this very low plastic quality the liveview pops out ALL THE TIME without even real provocation. This is because they made the back of it completely open and wrists are not flat surfaces!
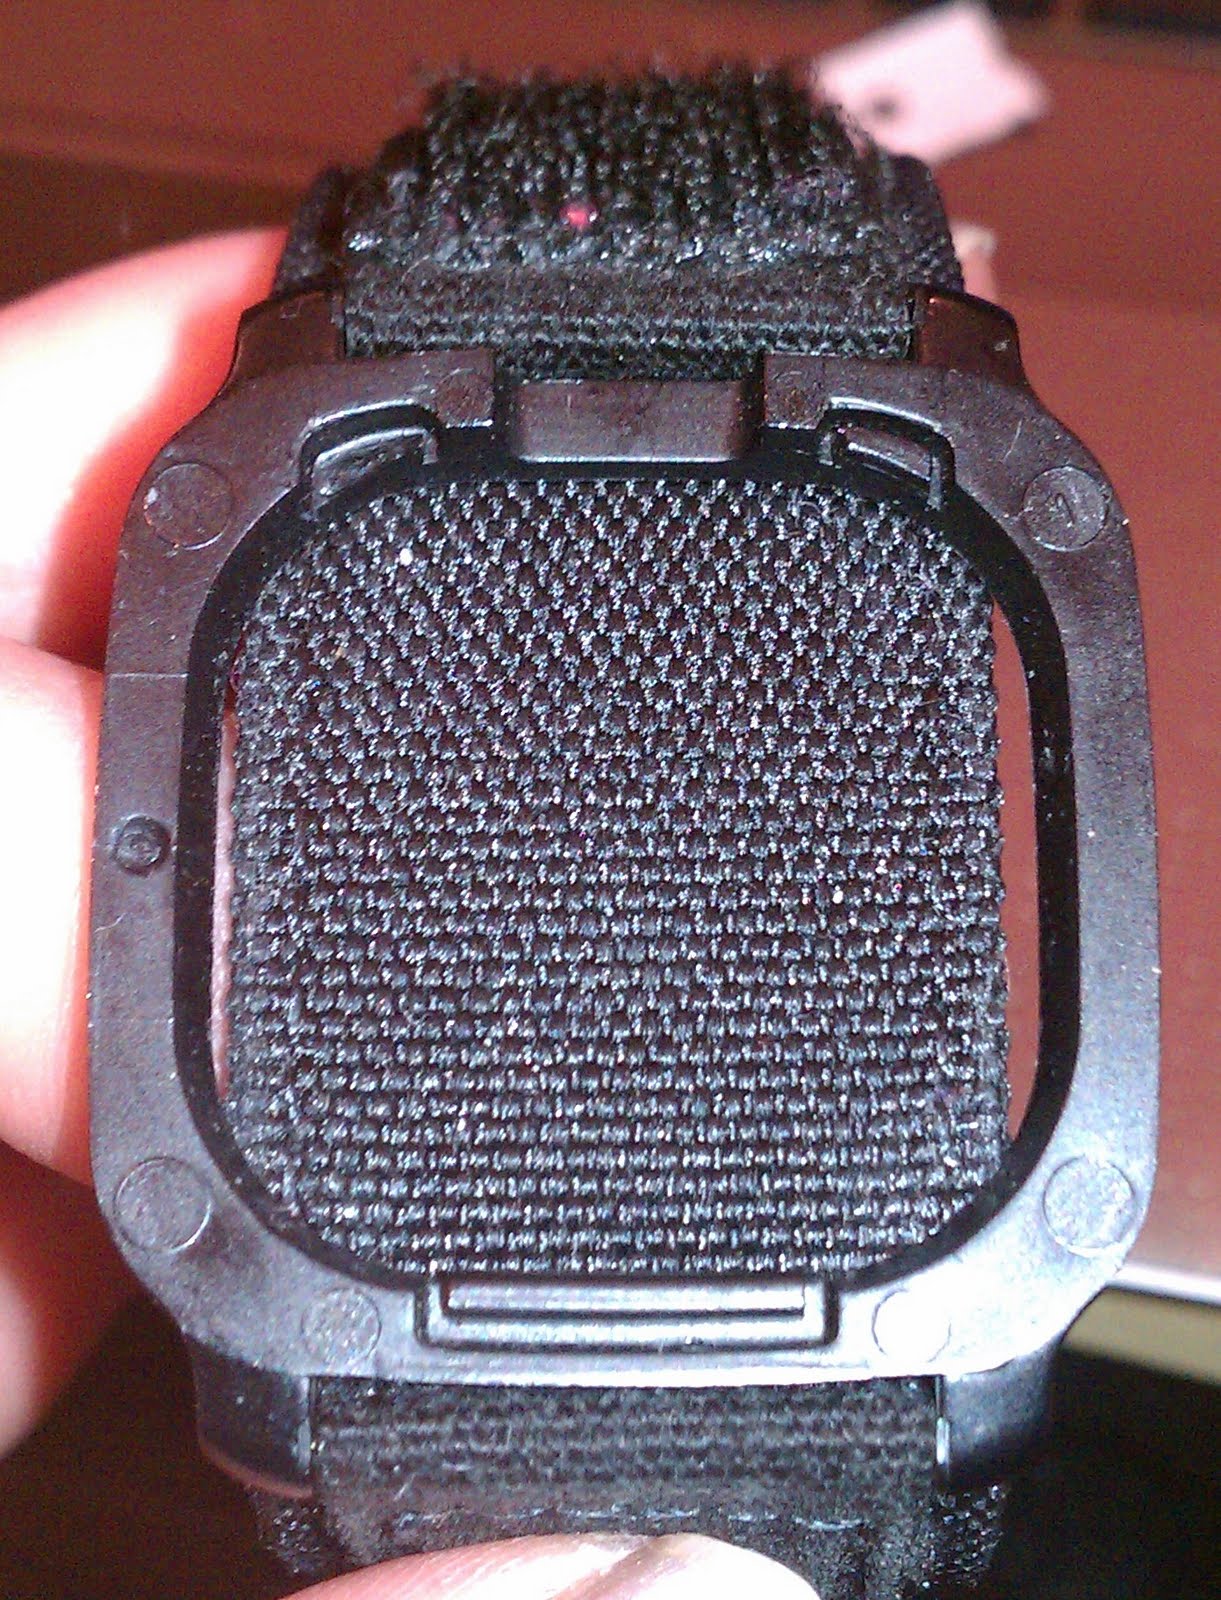
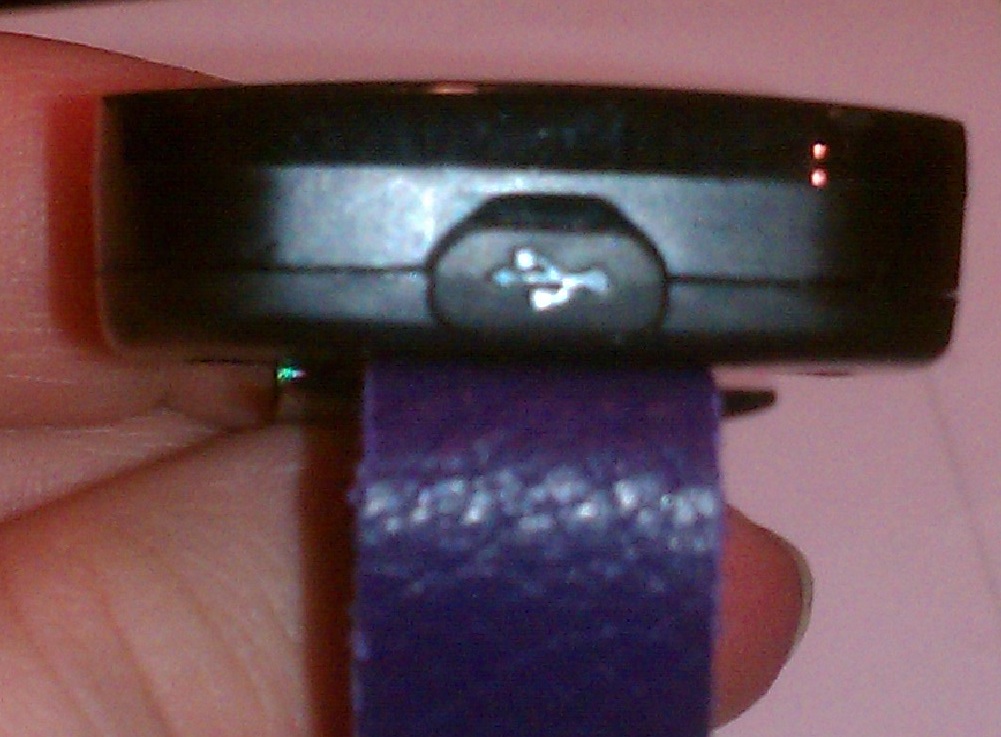
I was just getting ready to mold my own LV holder for a watchband….Then I looked at the clip holder for the LV. The clip holder is made of much better materials and is properly molded. Not only that, but you do not have to take the LV out of the watchband to charge. I decided I would just use the clip and make a quick watchband.
Now, this watchband is not meant for people who change out their bands frequently, but it is a quick fix and a cheap one. I am making a pattern for a nicer watchband, but it will require sewing and more tools (including some burn work). This one is cheap, pretty, effective, and infinitely more comfortable. NO CRAFT EXPERIENCE NEEDED!
First, you need to get these materials:

– Package of riveted snaps – $5 at Michaels
– 1 Piece of medium thickness leather – $3 at Michaels or free as scrap
– Side from ream of paper – free and found at office
– Scissors – free if you are a normal person (if you can’t be trusted with scissors, why do you have this watch?)
Step One:

Roll the Paper ream edge around your wrist and cut to desired length. Then place the paper down on the backside of the desired leather to make your band out of.
Step Two:

Now, Trace the paper ream out onto the leather and use the dots in the ream edge to make the places where you will be putting the rivet-snaps through (the paper ream makes this much easier as it gives you perfect hole-size, placement, and thickness for the watch band)
Step Three:

Cut it out, place the leather through the clip, and rivet in your snaps with the tool it comes with (hope you have a hammer or a rock or something).
Winning!

1 Comment
L · December 18, 2012 at 8:42 PM
this is really nice, simple but very creative 🙂